Overview
Below, two alternative installation methods are documented.
Docker Install
Installing with Docker is most streamlined for quick deployments, especially when docker and docker-compose are already installed. It’s not so much suited for heavy development.
Install Docker
- follow instructions at https://docs.docker.com/engine/install
- follow instructions at https://docs.docker.com/compose/install/
Get Source Code
If you have git installed, run
git clone https://github.com/sitcomlab/IVE
cd IVE
Otherwise run
wget https://github.com/sitcomlab/IVE/archive/master.zip
unzip master
cd IVE-master
Configure
When running with docker-compose, environment variables are read from the file .env.
Create and edit it based on a template:
cp .env.sample .env
vi .env
Add content
To fill the IVE with content, see Import.
Run
docker-compose up
To rebuild the container (due to source code changes), run docker-compose build.
Note that the database is persisted on the host system in the ./neo4j-data directory,
and media files to ./public/{images,objects,thumbnails,videos}.
Native Install
Graph database Neo4j
- Go to https://neo4j.com/download/ and download the newest 3.x.x release community-version of Neo4j. If you are on Linux, like Ubuntu, make sure, that you have Java 8 installed, which is not included in Ubuntu 14.04 LTS or Debian 8 (Jessie).
- If you are on macOS you can alternatively use Homebrew (http://brew.sh/index_de.html) to install Neo4j:
- Install and run Neo4j 3.x.x
- Open the UI in webbrowser: http://localhost:7474
-
If you have installed it on a Ubuntu Server, you might need to open the port, so that you can access the UI on your host. Open the config file:
sudo nano /etc/neo4j/neo4j.confand change the following lines like this:# HTTP Connector dbms.connector.http.type=HTTP dbms.connector.http.enabled=true # To accept non-local HTTP connections, uncomment this line dbms.connector.http.address=0.0.0.0:7474 # HTTPS Connector dbms.connector.https.type=HTTP dbms.connector.https.enabled=true dbms.connector.https.encryption=TLS # To accept non-local HTTPS connection, change 'localhost' to '0.0.0.0' dbms.connector.https.address=localhost:7473 - Restart Neo4j with
sudo neo4j restartand open the UI in webbrowser again. If you have access it for the first time, you need to create a username (neo4j) and password (neo4j) for your database. Change your password to123456as a default setting, which are used in the node-scripts.
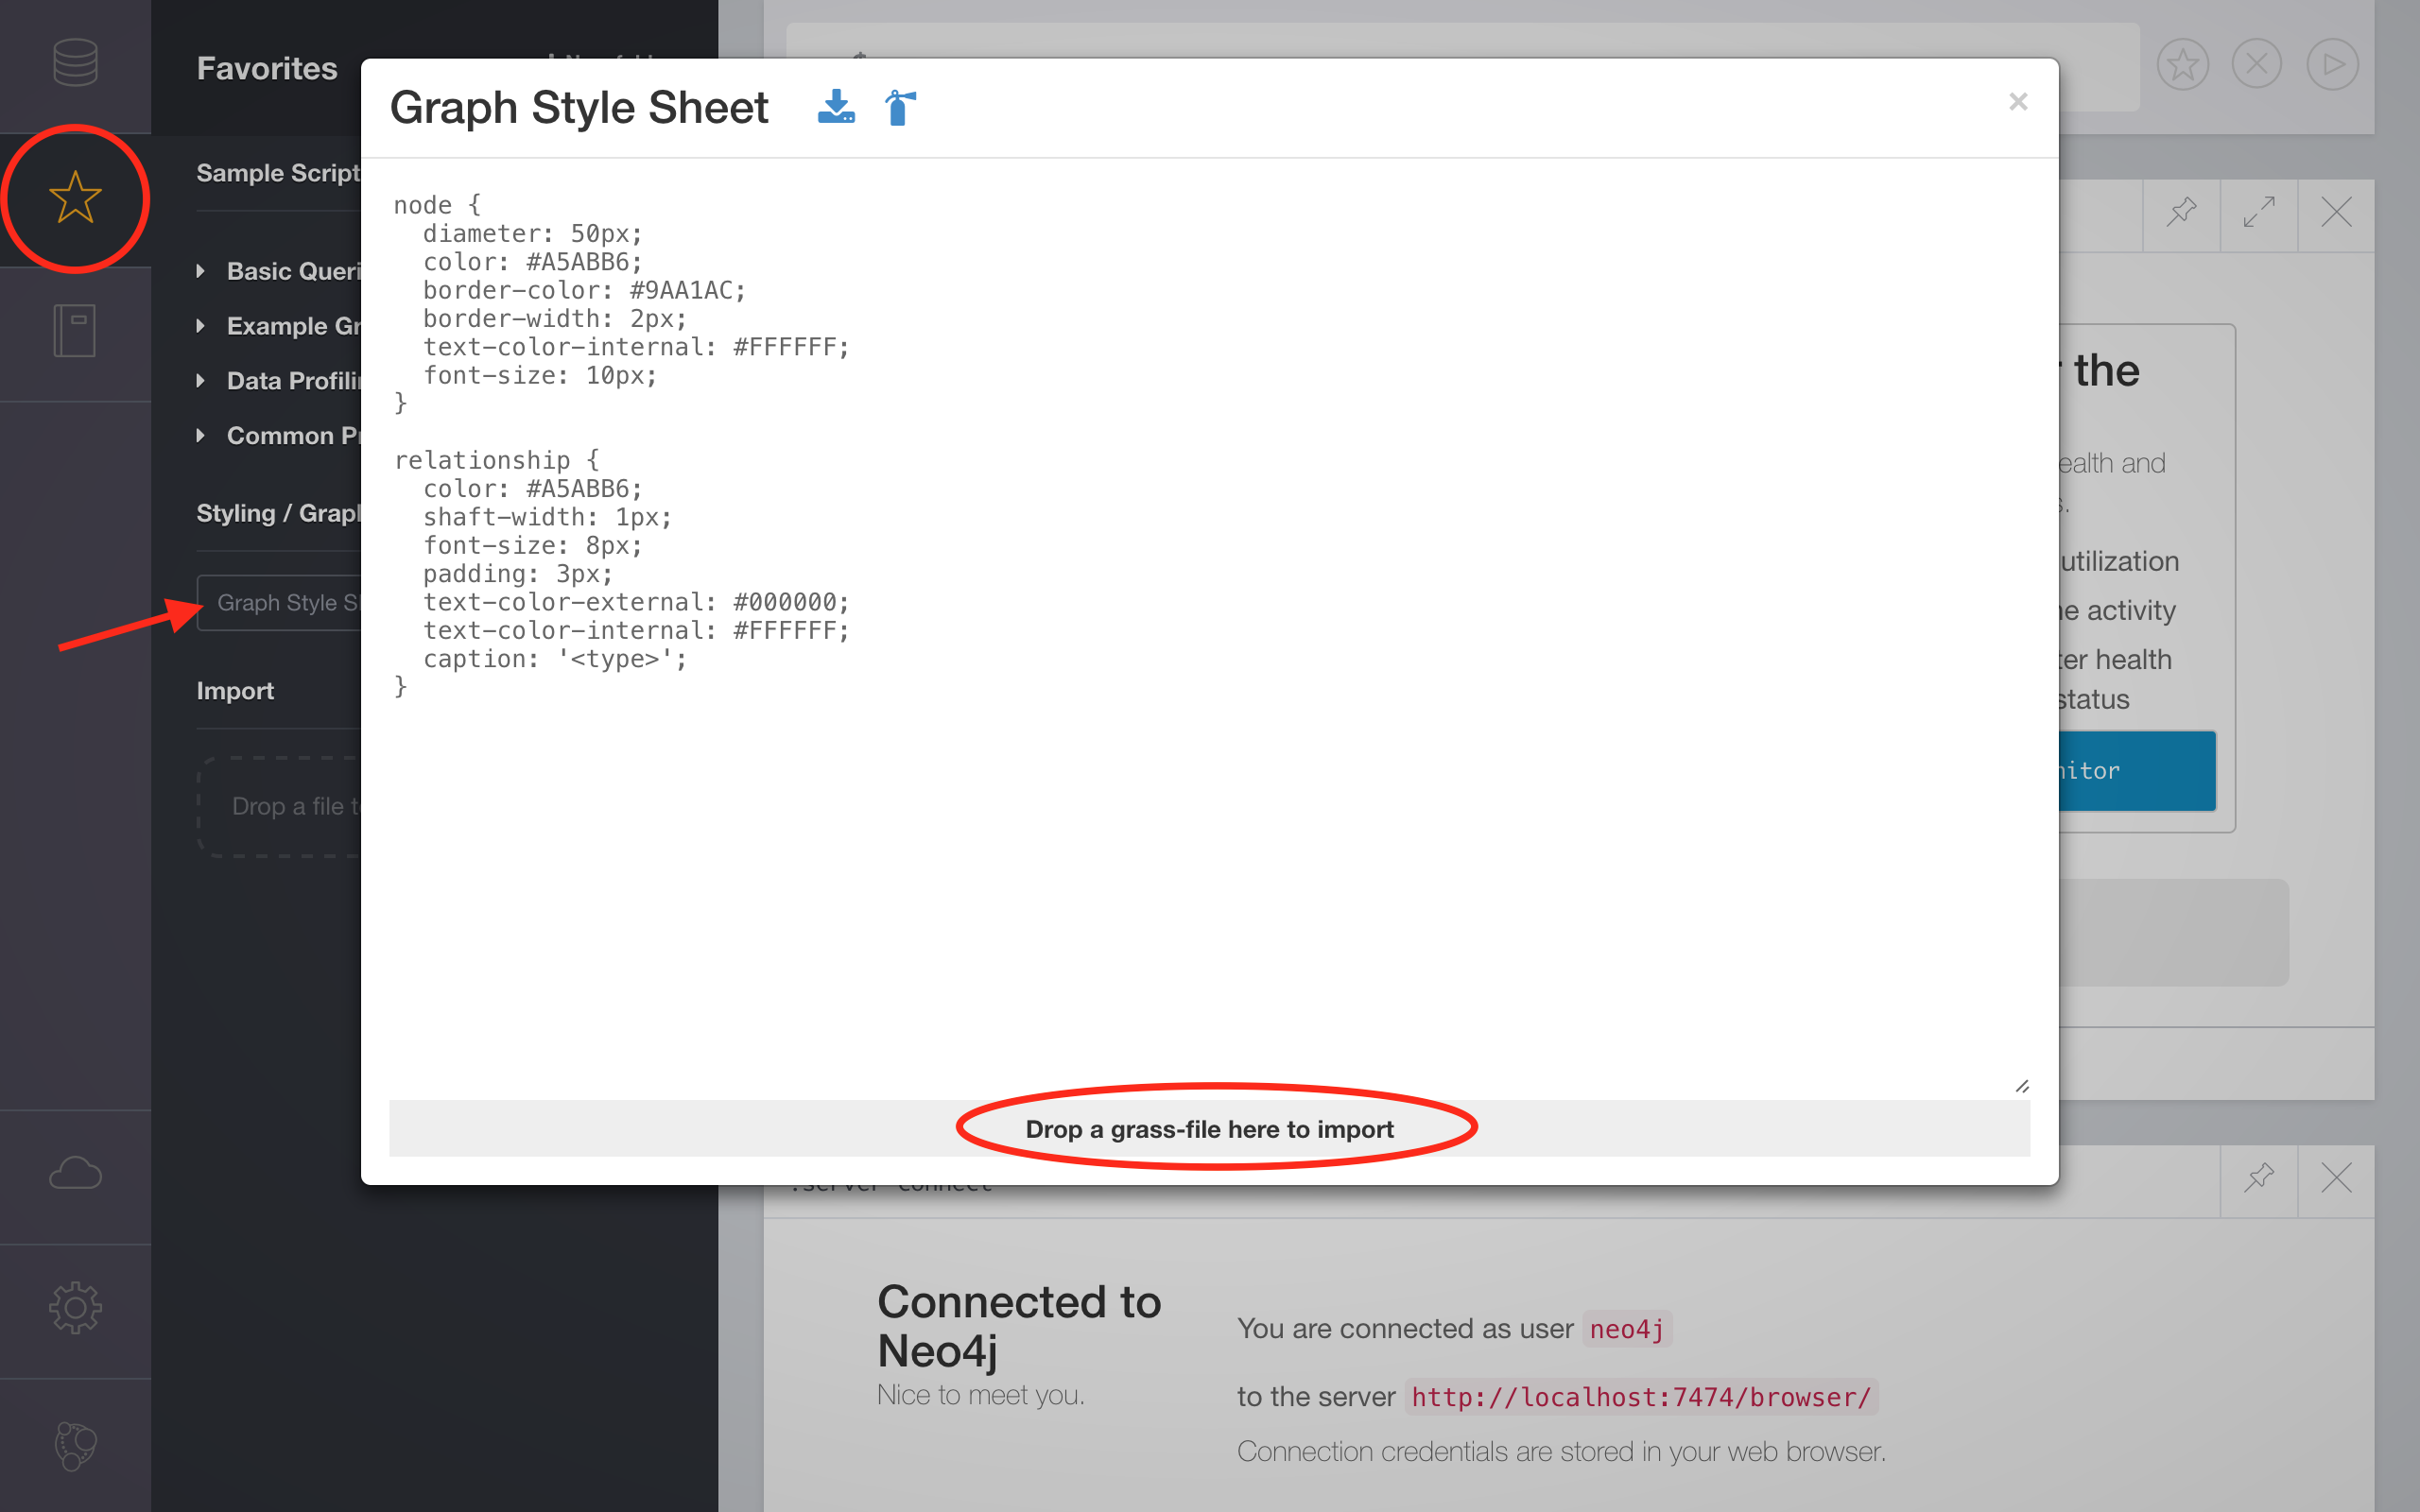
Graph style sheet
Optional step
With a graph-style-sheet for the Neo4j Browser, you can customize the highlighting of your nodes and relationships. Neo4j automatically visualizes the nodes with different colors for different labels, but if you want to use the same color coding as the IVE, you can find a graph-style-sheet.grass file in the repository. Drag and drop it, like this:
IVE
Git/GitHub
-
If you have Git already installed, you can use the CLI in your terminal.
-
Install Git: https://git-scm.com
GitHub repository
-
Clone the repository to your local (run the command with
sudo, if you don’t have permission):git clone https://github.com/sitcomlab/IVE.git -
If you want to develop or extend the IVE, please make a fork as first and send after your implementation a pull-request!
Nodejs
- Install Nodejs: https://nodejs.org
-
Install required node-modules from the
IVE/package.jsoninside the repositorynode npm install
Bower
-
Install Bower via npm
node npm bower -g -
Install required bower_components from the
IVE/bower.json:bower install -
If you need root-permission, install dependencies with this command:
sudo bower install --allow-root
Setup your local environment variables
Before you can use the IVE you need to specify the NODE ENVIRONMENT VARIABLES
This can also be done by creating a .env file, you can make use of the example-file by coping it to your local repository:
cp .env.sample .env
Available environment variables:
NODE_ENV: server environment (default:development, option:production)SERVER_URL: url of the nodejs-server (default:http://giv-sitcomdev.uni-muenster.de)HTTP_PORT: port number of the nodejs-server: (default:5000)HTTPS_PORT: secure port number of the nodejs-server: (default:HTTP_PORT + 443)DB_HOST: Neo4j-database host address (default:127.0.0.1)DB_PORT: Neo4j-database port number (default:7687)DB_USER: Neo4j-database username (default:neo4j)DB_PASSWORD: Neo4j-database password (default:123456)ADMIN_USERNAME: Username for the admin account (default:admin)ADMIN_PASSWORD: Password for the admin account (default:admin)JWTSECRET: Secret for the JSON-Webtoken-authentication (default:superSecretKey)
Server-settings (only for maintainers)
If you have installed the IVE on a Linux server, you can create a cronjob to automatically start Neo4j and the server after a reboot. Open sudo nano /etc/crontab and add the following lines:
# Start Neo4j
@reboot         root    neo4j restart

# Start IVE
@reboot         root    cd /home/<username>/IVE && PORT=5000 DB_USER=<NEO4J> DB_PASSWORD=<NEO4J> node server.js >> log.txt
Adding content
To fill the new installation with content, see Import.
Starting the IVE
If you have configured an .env file:
node server.js
Otherwise you need to set them on the commandline, for example:
# Linux & macOS
HTTP_PORT=5000 node server.js

# Windows
set HTTP_PORT=5000 node server.js
Changing the Documentation
If you want to contribute to this documentation, modify markdown files inside the docs/ folder of the IVE source repo.
-
To test the site locally, you need to install Jekyll (https://jekyllrb.com/docs/installation/) on your machine. Attention: Jekyll is not officially supported by Windows. Please follow the instructions on their website.
- Run Jekylls built-in-server with the following command (run it with
sudo, if you don’t have permission):jekyll serve - Open a webbrowser and go to: http://localhost:4000/
- Open the markdown files and start writing.
- If you want to write a blog-post, create a new
.mdfile inside the folder_postswith the nameYYYY-MM-DD-TOPIC, e.g.2016-10-23-Introducing-v2.md. - For adding new (static) pages, please read the documentation and make sure that you have set a header-section and added (static) page to the
_config.ymlfile.