Overview
Managing Scenarios in the CREATOR
The CREATOR is one of the content management systems for the IVE. You can create Scenarios, Locations, Videos and overlays (explained later). Furthermore, you can connect them and place the overlays on the videos.

To get to the Creator, click on the “creator” - button on the main page. Now, you will see a login-page. The standard here is username: admin, password: admin. Now you are able to create and manage your data.
Scenarios
The first thing you have to do to start working with the IVE, is to create a new scenario. A scenario will contain the videos, locations and overlays that belong together. For example. You could make a bus scenario, with the locations of the bus-stops, the videos at the bus-stops and the overlays you want. In a scenario there can be multiple locations, videos and overlays.
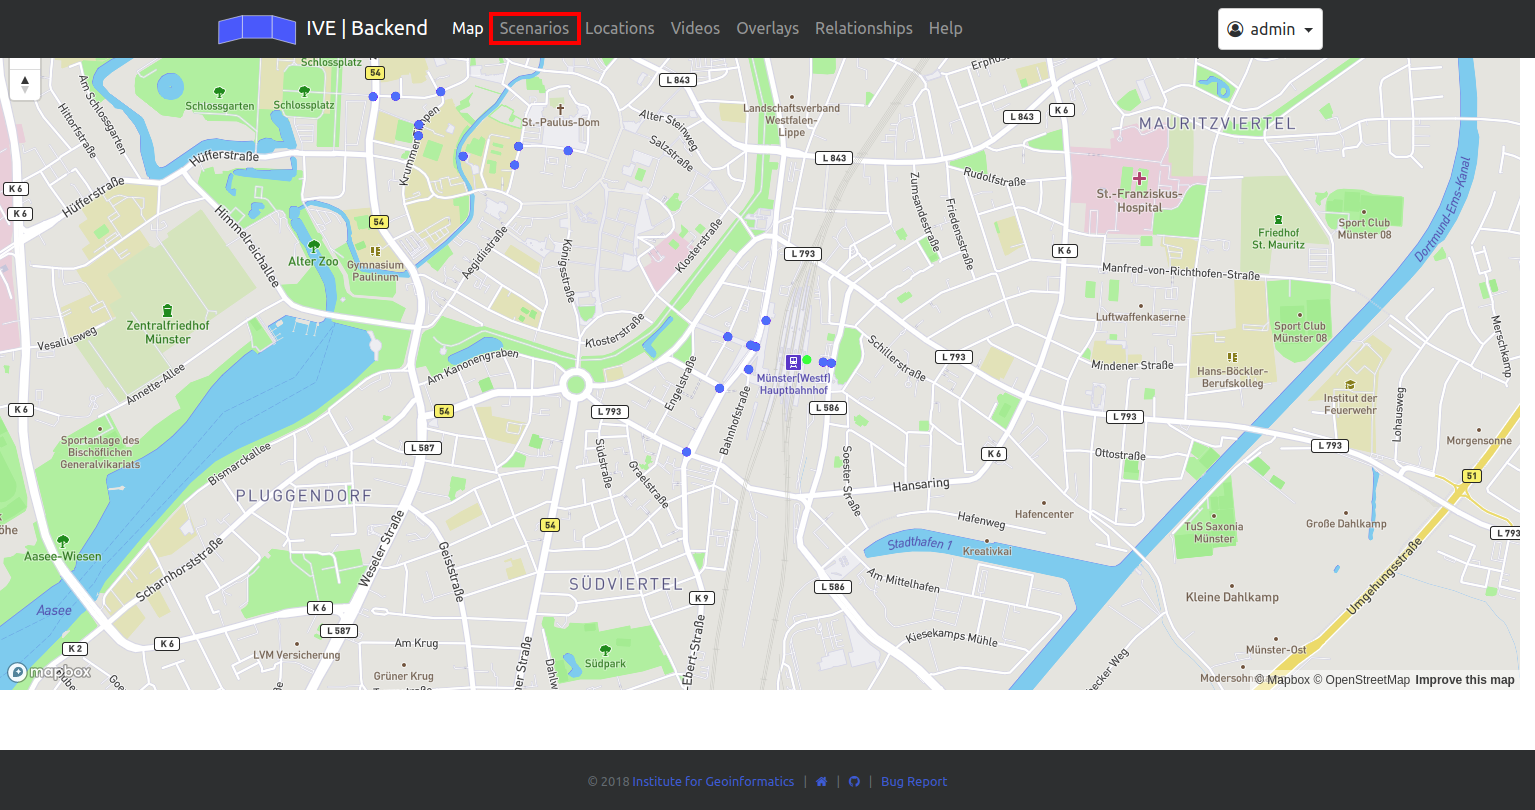
So, after you logged in, you click on the “scenario”-button in the menu (see above).
When you click on this button, you will see a list of all existing scenarios. To create a new one, just click on the blue “+” in the right upper corner.

Now you can see a page, where you can type the name and a description of the scenario. When you are finished, click on “send” and your scenario is created.
To get some information about your scenario, you can click on it at the scenario-list.
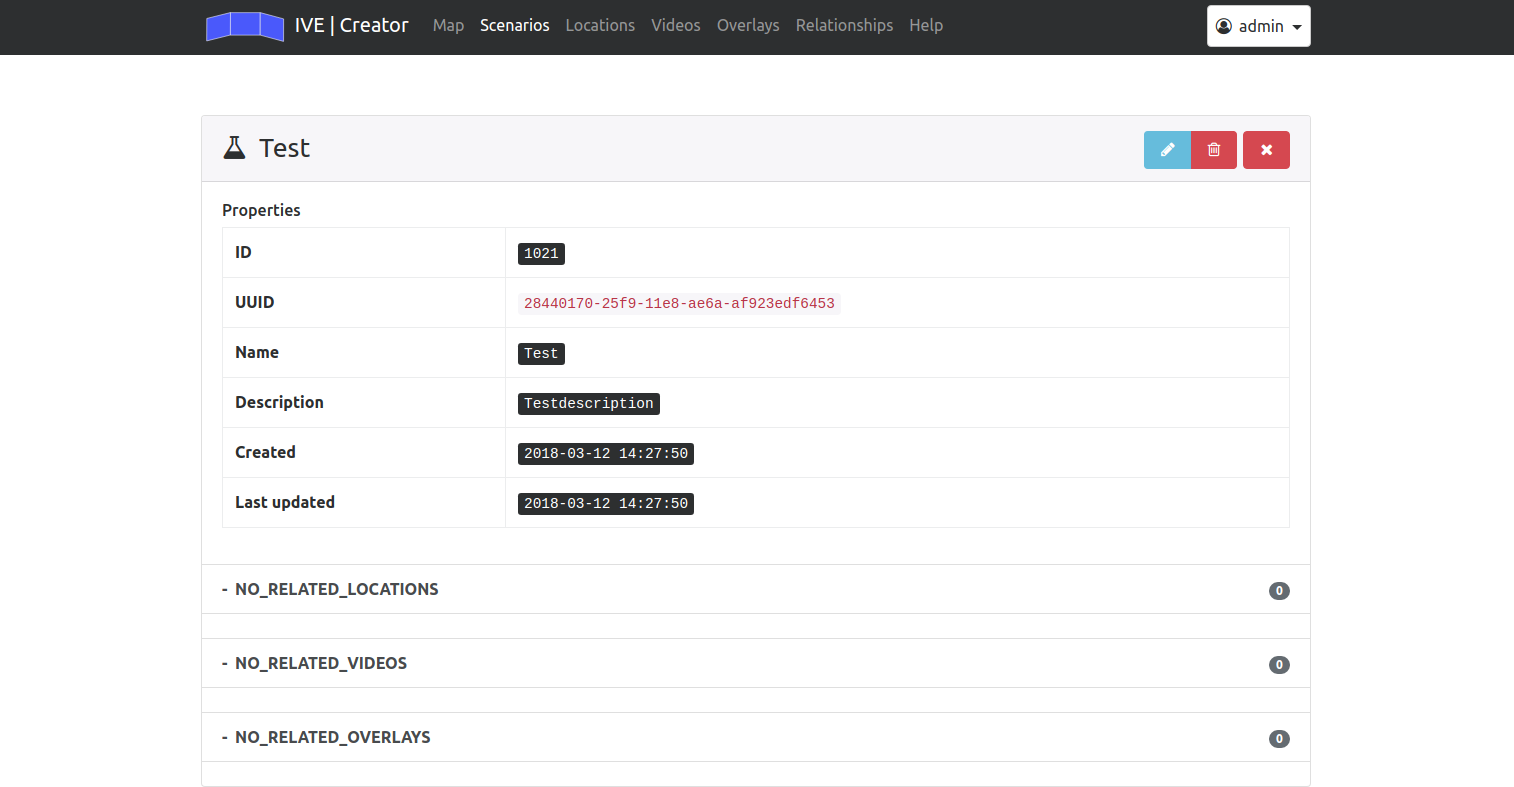
Here you can see the some metadata and your connected locations, videos and overlays (this is empty at the moment, we will make these connections later).
Locations
The next step is to create new locations. With locations you later can create paths, moreover you need them to say where the videos are located at. One location can contain multiple videos.
A video can be indoor, outdoor and abstract. An abstract location is a location, that contains multiple locations. For example, when you create all the floors of a building as locations, you could set the whole building as an abstract location and connect all the floors to it.
So, let’s create three locations. The first one should be abstract, the GEO1.
To create one, click on the location-button in the menu. Now you can see all existing locations, furthermore you have the possibility to create a new one. For this, you have to click the blue “+” in the right upper corner.
Now, just like the new scenario, you can type the name and a small
description. Moreover, you can say whether it’s indoor, outdoor or
abstract. At last, you can choose a point on the map for your location.
With a click on the green “send” button, your new location is saved.
So the first one you create is an abstract location, the GEO1. After you have done this, create one indoor in the GEO1 and one outdoor location near to the GEO1.

Videos
Next, you create a new IVE-video. You can later add overlays to the videos and connect them to locations and scenarios. One video can have multiple overlays and can be connected to many scenarios, but only to one location. Click on the video-button in the menu and again on the blue “+” in the right upper corner.
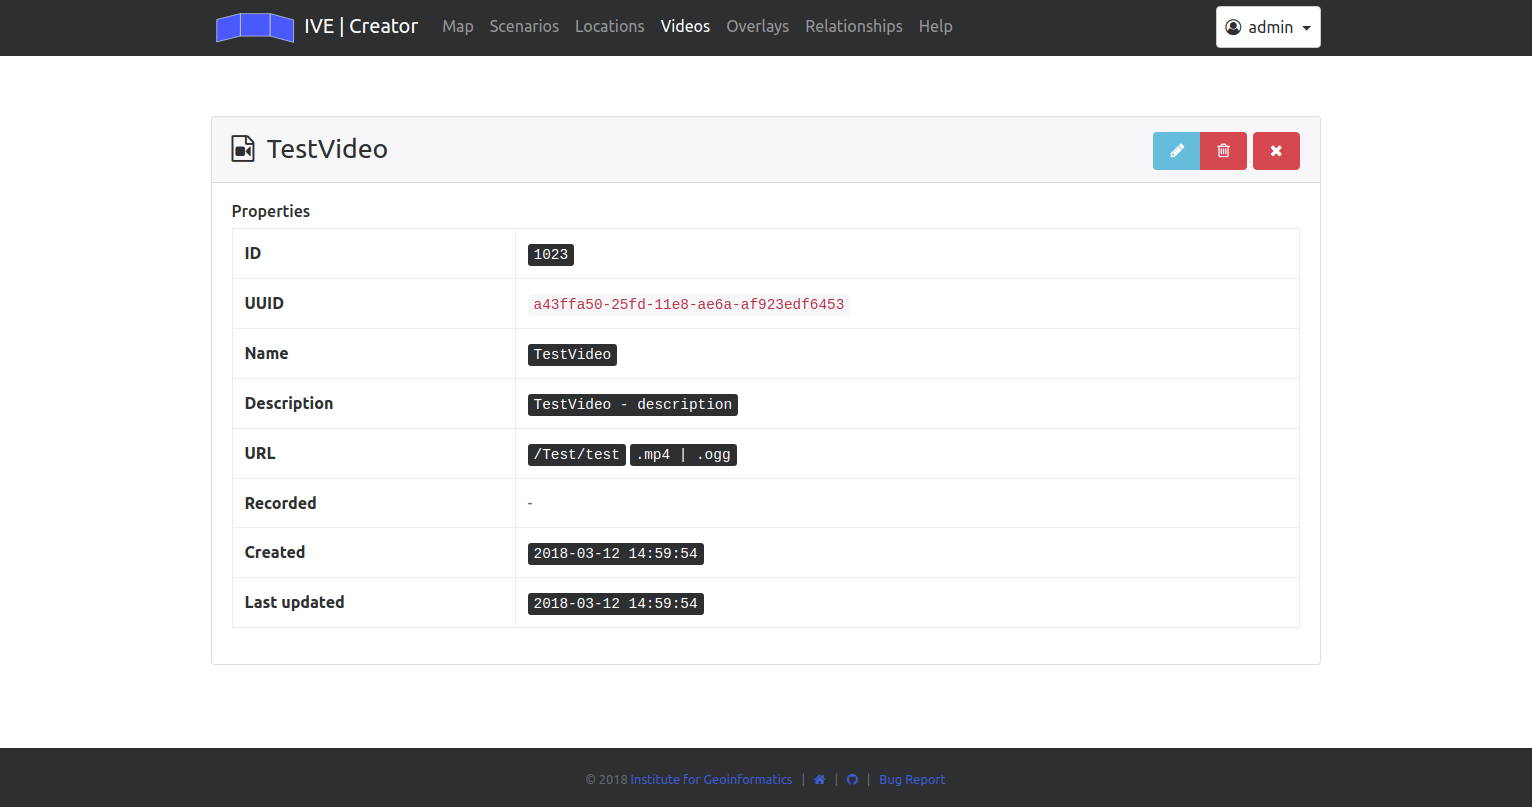
Now you can type, again, the name and a description. Besides that, you have to upload your video from your device and say when it was recorded. To save the video, click on the “send” button.
Now, let’s upload two videos. One recorded inside the GEO1 and one recorded outside.
Overlays
Now it’s time for the overlays. Overlays are the objects, that later lay
over your videos. An overlay can be a video, a picture or a website.
With a click on “overlays” in the menu, you can see a list of all
existing overlays. To create a new one, click on the blue “+” and type
in your data. You can choose a category and, if needed, upload a picture
and a video.
If you want to save a website as an overlay, the URL of the website has
to be the full form. That means, you have to type the “http//:”-part too
(e.g.: [https://www.wikipedia.de/]{.ul}).
Now save your overlay with a click on “send”.
So, let’s create 3 overlays. A picture, a video and a webpage.
Relationships
Now everything you need is uploaded, and you need to connect everything. This is done with “relationships”.
When you click on “Relationships” in the menu, you will see this:
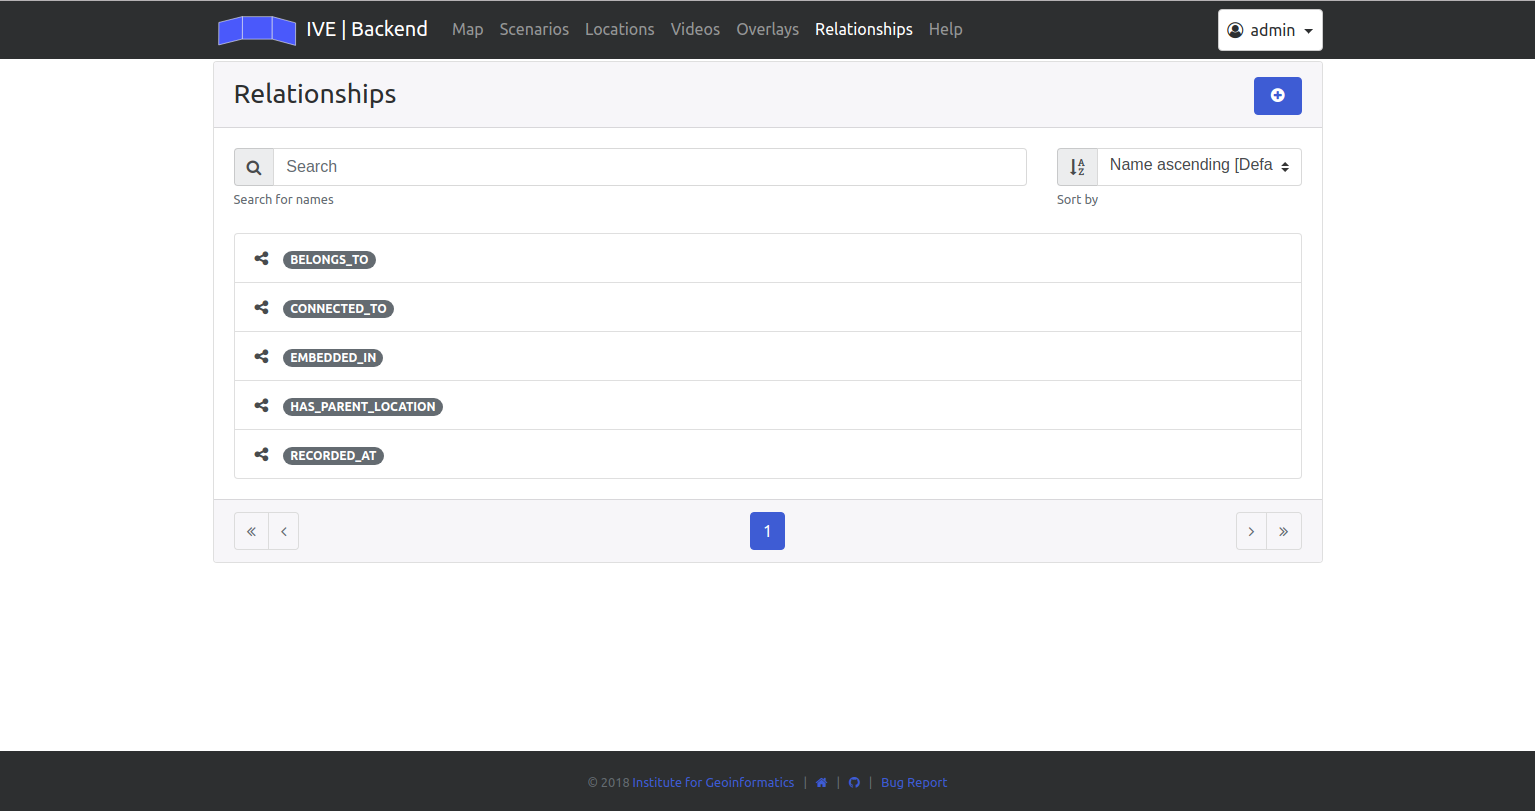
With a click on one of these five buttons, you could see all the relationships of one of these categories. But first, create a new relationship. To do this, click on the blue “+” again in the right upper corner. Then, you will see this:
These are all the relationships you can create:
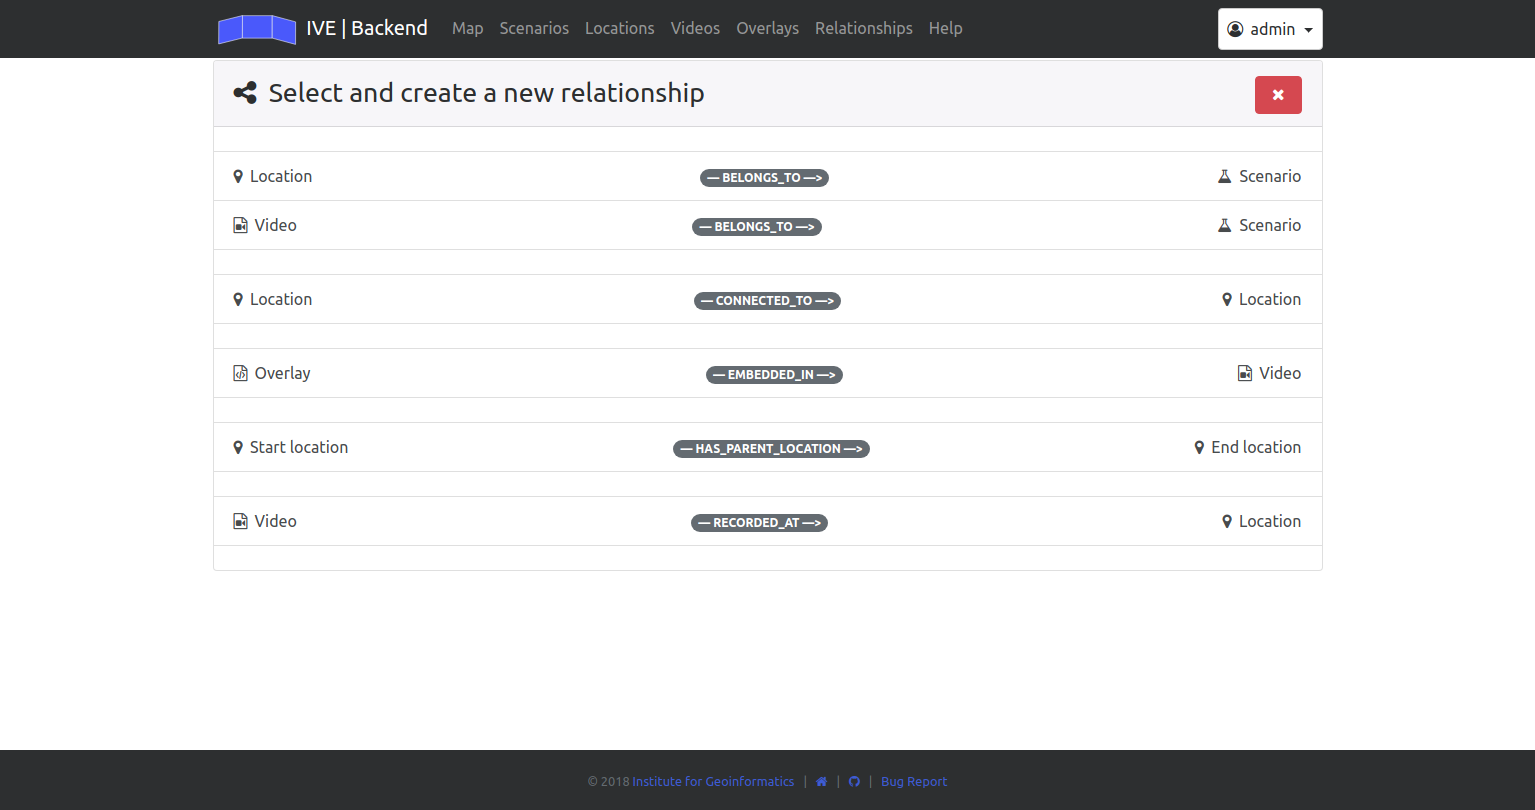
RECORDED_AT
With the first relationship-type, you can connect a video to a location. So you say, where your video is recorded. You just have to choose a video and a location, type a short description if you want and save it with a click on “send”. This has to be done to show the right video in the Viewer when chosen.
Now you can connect your videos to the right locations.
BELONGS_TO
Once this is done, you can connect your videos and locations to your
scenario. This also needs to be done to show the right data in the
Viewer.
Again, just choose your video/location and the scenario and save
everything.
EMBEDDED_IN
Now you can connect your overlays to videos. To do this, you can use the “EMBEDDED_IN”-relationship.
Here you can choose a video out of a scenario and an overlay and connect
these two. Every video can have multiple overlays.
You can type a description and some values for the size and position of
the overlay in the video, but the positioning can be done more easily
later. Now, save the relationship and move on.
CONNECTED_TO
The “CONNECTED_TO”-relationship exists to create relationships between location which are near to each other. So, for example, the first floor of a building can be connected to the second floor of the same building. With this, you can navigate through your scenario later more easily. Because our test locations are near to each other, you now can connect them.
HAS_PARENT_LOCATION
The “HAS_PARENT_LOCATION”-relationship connects locations to one “parent-location”. These parent-locations are often abstract locations. For example, all the floors of a building are connected to one big abstract location, the whole building. With this, you create “location-groups” of many locations. So the abstract GEO1-locations is the parent of the two other locations.
Now, lets have a look on your scenario. Click one the scenario-tab in the menu again and then on your scenario. You can see, that your locations and videos are listed in the scenario.
Summary
To work with your overlays and manage them, go back to “Relationships” and then click on “EMBEDDED_IN”. Now you will see a list of all relationships between overlays and videos. Now click on the relationship you want to edit.
The first page you’ll see shows some metadata and the values of the overlay. With a click in the blue pencil in the right upper corner you get to a page, where you could edit the position/size, but this should be done when you see the overlay in the video. To do this, click on “EDIT_IN_PREVIEW_MODE” in the right upper corner. Now you will see the video and the overlay in it. Now you can scale/rotate/move the overlay. When you like your result, click on “save”.
If you want to see the other overlays that are in the same video, you can open the viewer (explained later) and choose the video you want. Now, when you change the overlay, it changes live in the viewer, too.